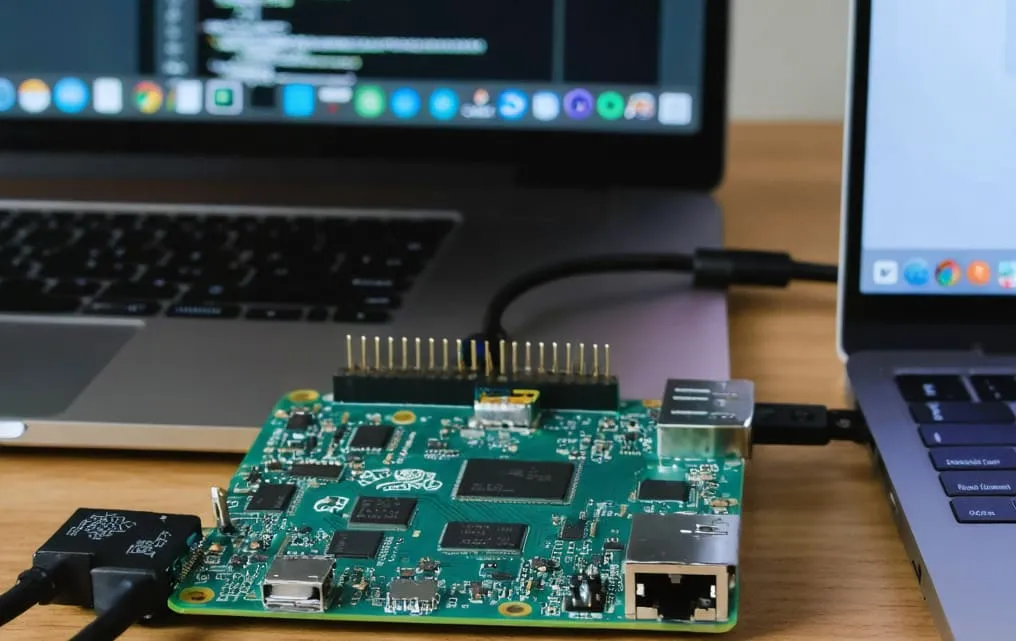
The Raspberry Pi has revolutionized how enthusiasts, students, and professionals approach computing projects. Its small size, affordability, and versatility make it a perfect tool for learning, experimentation, and deployment of small-scale servers. One of the most powerful features of the Raspberry Pi is the ability to access it remotely using SSH, allowing you to control and manage your device from anywhere in the world. This article will guide you through mastering remote SSH and provide tips to securely and efficiently manage your Raspberry Pi.
Understanding SSH and Its Importance
SSH, or Secure Shell, is a network protocol that enables secure access to devices over an unsecured network. When you remotely SSH Raspberry Pi, you can control it as if you were sitting in front of it, running commands, transferring files, and configuring applications. Unlike other remote access methods that rely on graphical interfaces, SSH uses a command-line interface, which is lightweight and efficient, making it ideal for devices like Raspberry Pi with limited resources.
The security aspect of SSH is particularly important. It encrypts all traffic between the client and the server, preventing eavesdropping and ensuring that sensitive data, such as passwords and configuration files, remain protected. This makes SSH the preferred method for managing Raspberry Pi devices, especially when accessing them over the internet.
Preparing Your Raspberry Pi for Remote Access
Before you can remotely SSH Raspberry Pi, you need to ensure that the device is ready for remote connections. The first step is to enable SSH on the Raspberry Pi. This can be done through the Raspberry Pi configuration settings. By default, SSH might be disabled for security reasons, so enabling it is a crucial first step.
Next, ensure that your Raspberry Pi is connected to a network. This could be through Ethernet or Wi-Fi, depending on your setup. A stable network connection is essential for maintaining a reliable remote connection. Assigning a static IP address to your Raspberry Pi can also simplify access because it prevents the device’s IP from changing, which can complicate SSH connections.
Setting up a secure password for your Raspberry Pi user accounts is another important step. Using strong passwords reduces the risk of unauthorized access when you remotely SSH Raspberry Pi from external networks. For added security, consider creating a dedicated user account for SSH access, separate from your main account.
Accessing Raspberry Pi Locally
Before attempting remote access over the internet, it is recommended to test SSH connectivity on your local network. Using a computer or another device on the same network, open a terminal and enter the command ssh pi@<IP_ADDRESS>, replacing <IP_ADDRESS> with your Raspberry Pi’s local IP address. You will be prompted to enter the password for the user account. Once authenticated, you will have full command-line access to your Raspberry Pi.
This local test ensures that SSH is properly configured and that the device is accessible, helping to troubleshoot any potential issues before attempting remote access from outside your network.
Configuring Remote Access Over the Internet
To access your Raspberry Pi from anywhere, you need to configure your home network for remote SSH. One common method is using port forwarding on your router. By forwarding the SSH port (usually port 22) to your Raspberry Pi’s local IP address, you allow incoming connections from external networks.
It is important to note that exposing the default SSH port directly to the internet can pose security risks. To mitigate these risks, consider changing the default port to a custom, high-numbered port. This adds an additional layer of security by making it harder for automated attacks to find your device.
Another approach for remote SSH access is using a Virtual Private Network (VPN). A VPN allows your device to securely connect to your home network as if it were locally connected, eliminating the need to expose SSH directly to the internet. Setting up a VPN might require more initial configuration, but it significantly enhances security and reliability for remote connections.
Using Dynamic DNS for Simplified Access
Many home networks have dynamic IP addresses, which change periodically. This can make it difficult to connect remotely because the external IP address of your network may not be consistent. Dynamic DNS (DDNS) services solve this problem by providing a fixed domain name that always points to your current IP address.
By setting up DDNS, you can remotely SSH Raspberry Pi using a memorable domain name instead of tracking changing IP addresses. Most modern routers support DDNS, and several free and paid services are available to help you maintain constant access to your Raspberry Pi.
Enhancing Security for Remote SSH
Security should be a top priority when enabling remote SSH access. One effective method is using SSH key-based authentication instead of passwords. With key-based authentication, you generate a pair of cryptographic keys—a private key stored on your client device and a public key added to the Raspberry Pi. Only devices with the private key can authenticate, significantly reducing the risk of brute-force attacks.
Additionally, it is advisable to disable password authentication entirely once key-based authentication is set up. This ensures that unauthorized users cannot gain access through guessing passwords. Enabling fail2ban or similar intrusion prevention tools can also help by blocking repeated failed login attempts.
Regularly updating your Raspberry Pi’s operating system and software is essential. Security patches and updates often include fixes for vulnerabilities that could be exploited by attackers. Keeping your system current minimizes the risk associated with remote SSH access.
Advanced Techniques and Tools
Once you have mastered basic remote SSH access, you can explore advanced techniques to enhance productivity and flexibility. Tools like tmux or screen allow you to run long-running processes on your Raspberry Pi and detach sessions, so you can reconnect later without interrupting ongoing tasks.
File transfer via SSH is also convenient. Using scp or rsync, you can securely copy files between your local machine and Raspberry Pi, enabling efficient management of projects, backups, and media files.
For users who require graphical access, tunneling X11 or using VNC over an SSH connection can provide a secure way to run graphical applications remotely. This approach maintains the security of SSH while offering the flexibility of a graphical interface.
Best Practices for Remote Management
To ensure smooth and secure operation, follow some best practices when remotely accessing your Raspberry Pi. Always monitor logs for unusual activity, such as repeated failed login attempts, which could indicate attempted intrusions. Keep a backup of your important files and configurations, as remote access increases exposure to potential risks.
Documenting your setup, including IP addresses, port configurations, and key locations, can save time when troubleshooting or making future changes. Finally, consider setting up alerts for critical system events, such as low storage or high CPU usage, so that you can respond promptly even when managing your Raspberry Pi remotely.
Conclusion
Mastering remote SSH allows you to leverage the full potential of your Raspberry Pi from anywhere in the world. By properly configuring SSH, securing your device, and using tools like port forwarding, VPNs, and dynamic DNS, you can manage projects, transfer files, and run applications remotely with confidence. Key-based authentication, regular updates, and monitoring ensure that your connections remain secure. With practice and attention to detail, remotely SSH Raspberry Pi can transform how you interact with your device, turning it into a powerful tool for learning, development, and remote computing projects.